I own a 1990 Ford F-150. The truck had problems with surging idle on cold starts. After replacing a few capacitors — just $0.48 in parts — it runs better than ever.
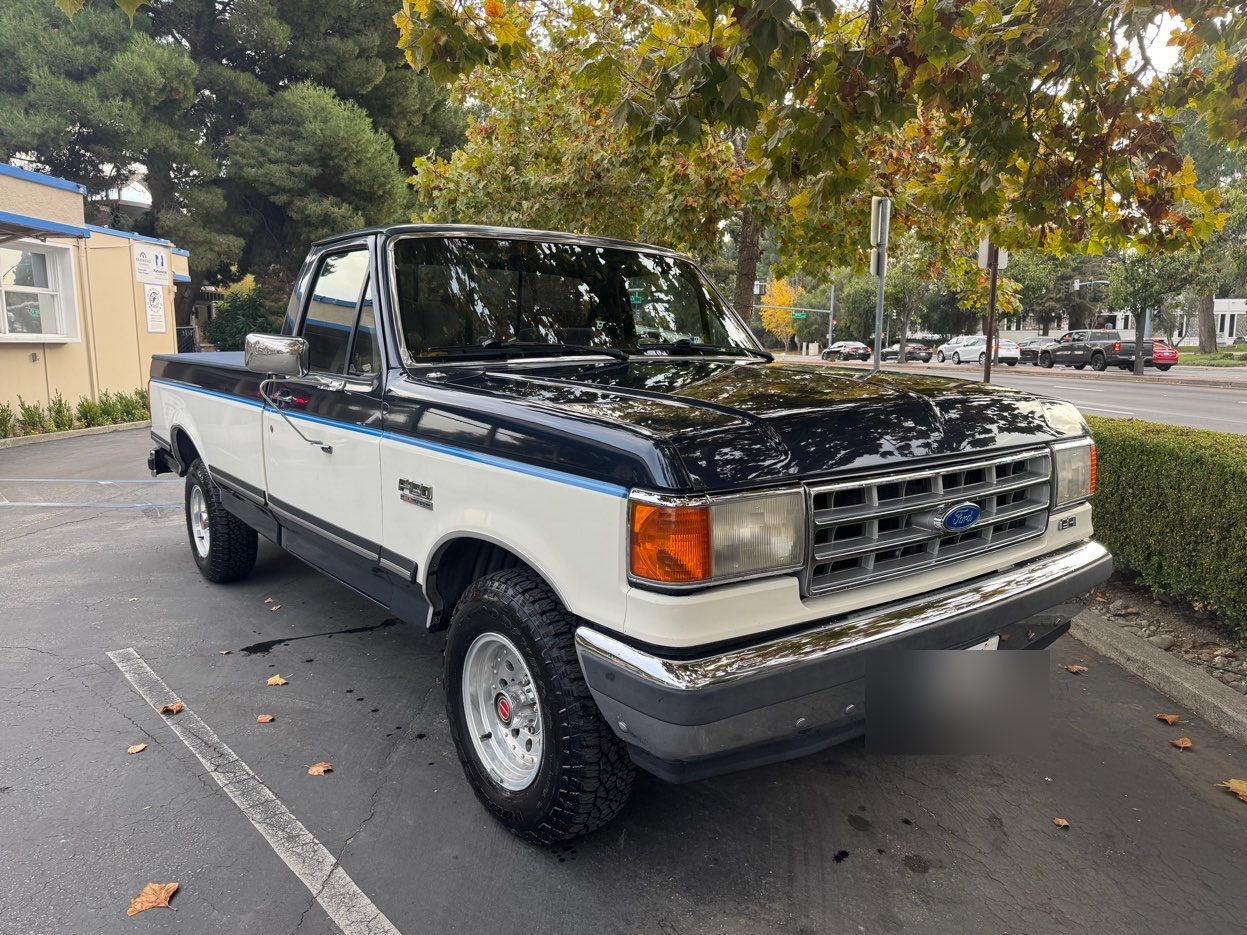
I found my F-150 last year on Facebook Marketplace. It’s a beautiful two tone which was garaged in San Jose, California for its entire life. The front of the truck wears an EFI badge because this was the first generation F-150 which used a computer for electronic engine control. This truck uses the Ford EEC-IV system powered by the Intel 8061 microcontroller.
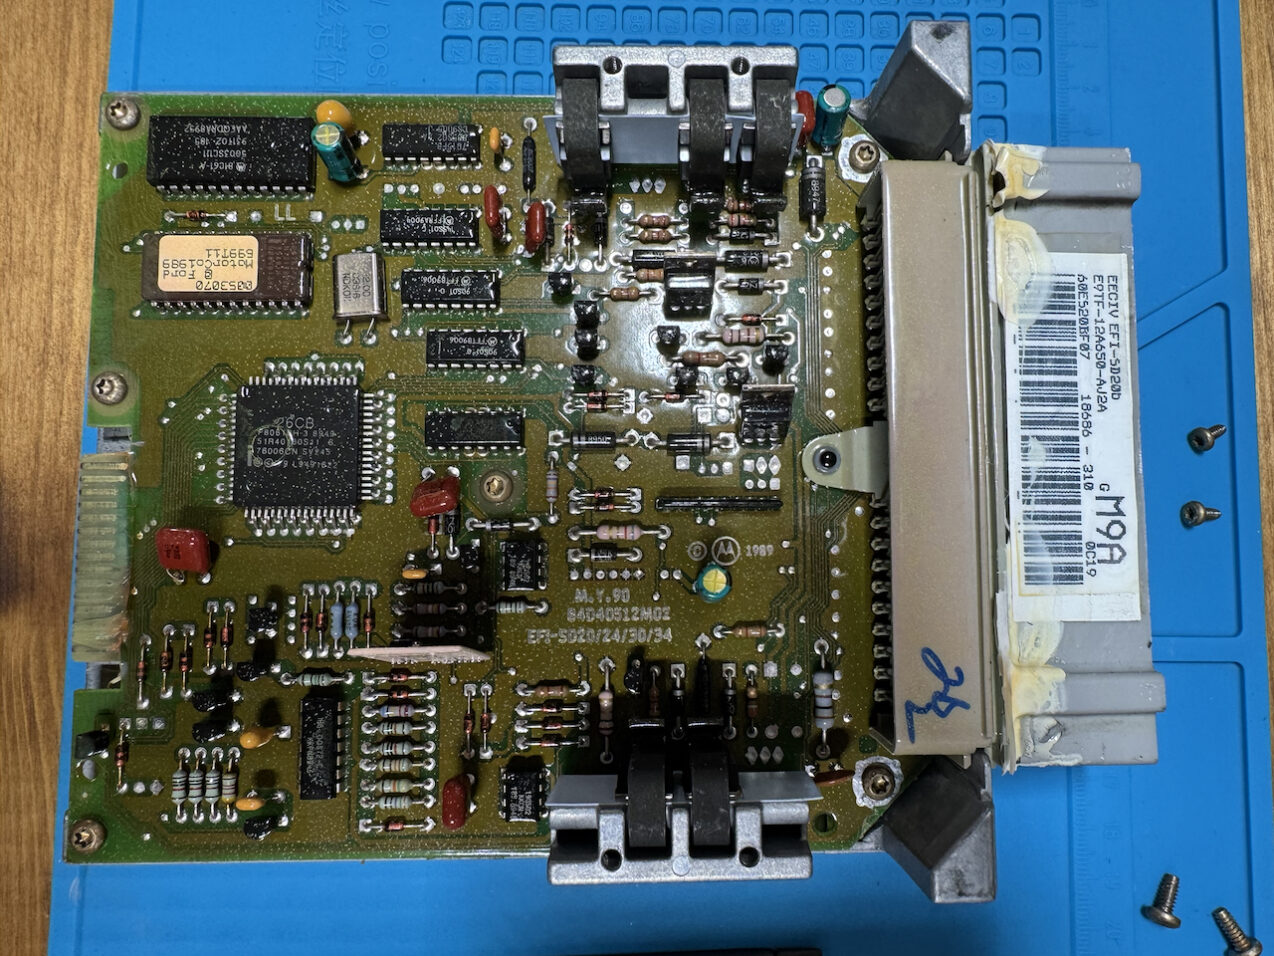
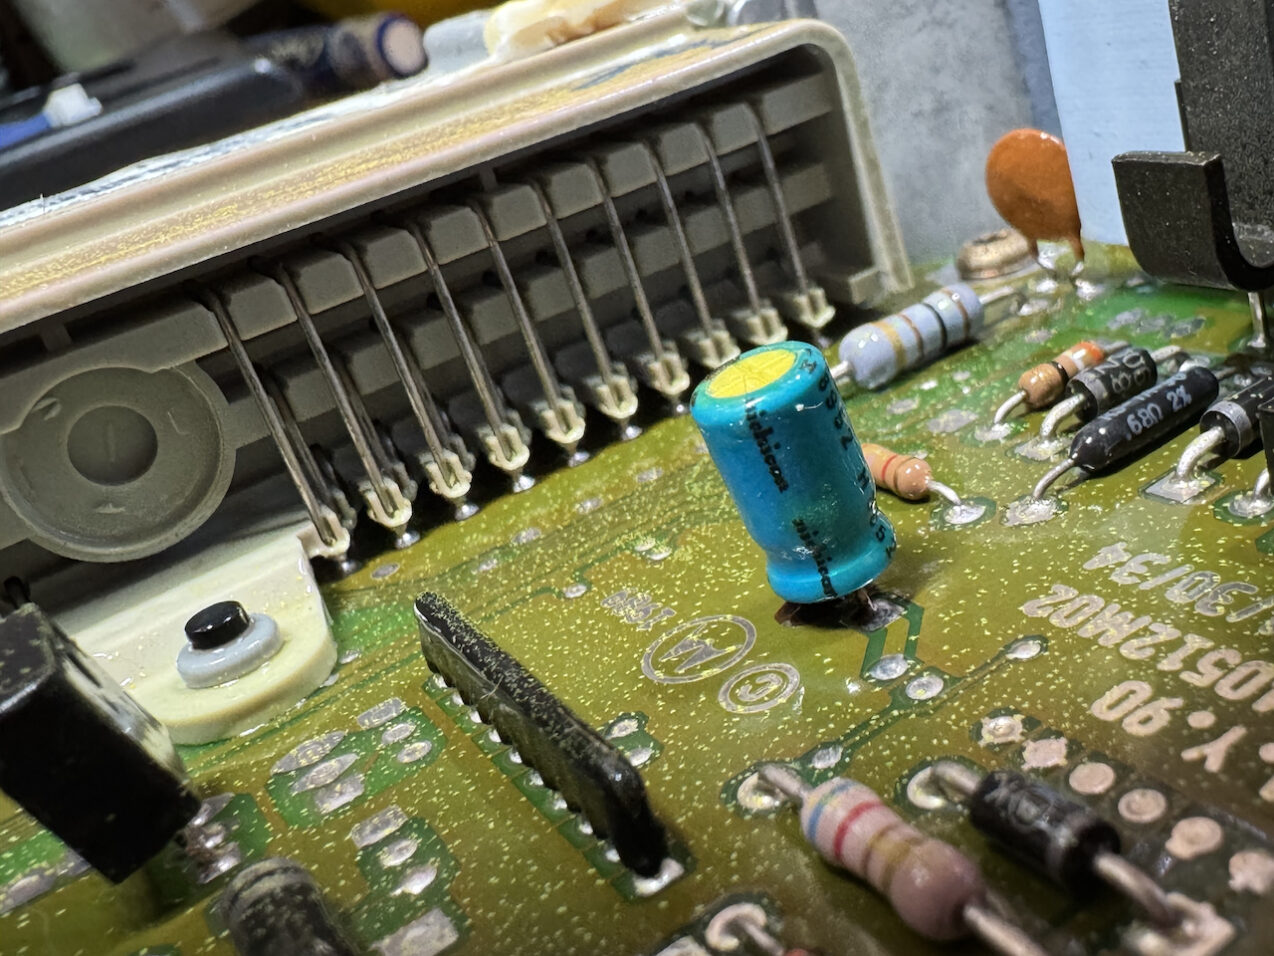
The EEC-IV processing unit contains electrolytic capacitors which fail due to age. At least one of these is directly responsible for stabilizing reference voltage (VREF) for the engine’s analog sensors. Without good sensor data, the truck does not run the way it should. Sure enough, this capacitor was leaking.
I replaced these with new capacitors from my local Anchor Electronics store — a true gem in Silicon Valley where the specific capacitors I needed were immediately available.
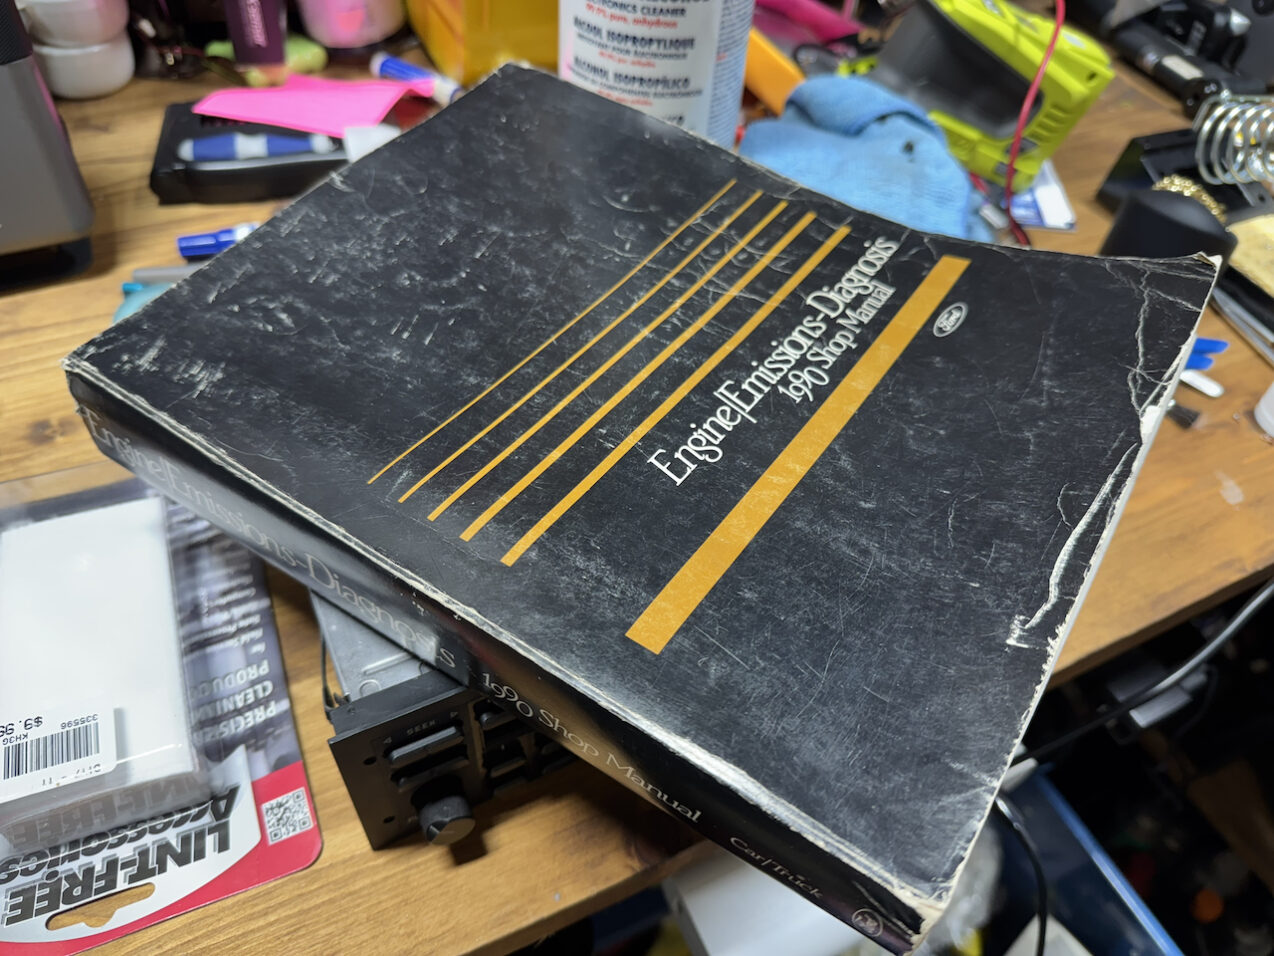
My first attempt at repair was not good enough. After a month or so, my truck still had surging idle and one day refused to hot restart. In the meantime I bought a book from Half Price Books in Fremont which was a great companion for my troubles: the Ford Engine/Emissions Diagnostics 1990 Shop Manual.
These engine control systems predate OBD-II so most scan tools are useless. But this truck doesn’t need a scan tool at all — it just needs a paperclip. By shorting the Self Test Input connector under the hood to ground the truck’s Check Engine light will flash codes. You don’t even need the shop manual to understand them. These days AI can help make sense of the codes. And sure enough, every single analog sensor in the truck was unhappy.
I went back in, reflowed the capacitors, and now the truck idles perfectly. The self-tests all pass now.
Capacitor Types for the M9A
Capacitors will be different for every processor variant. For the M9A, they were aluminum electrolytic capacitors as follows:
| Qty | Original type | Replacement choice | Retail cost |
|---|---|---|---|
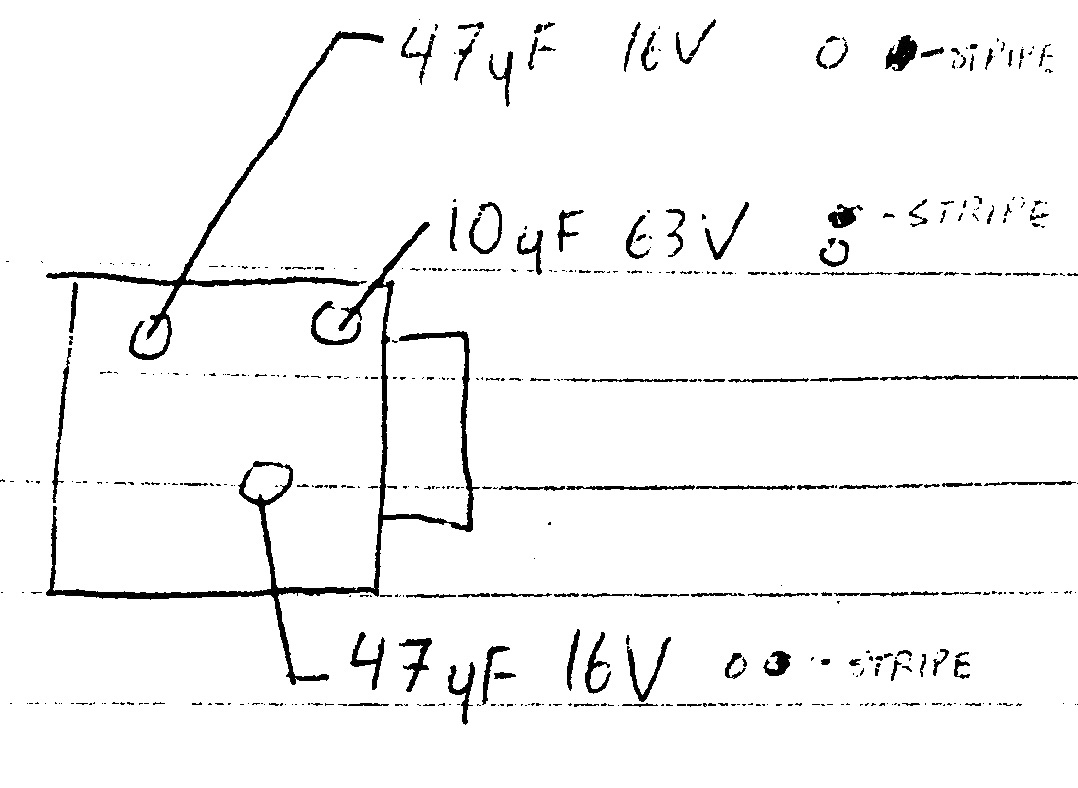
| 2 | 47µF 16V aluminum electrolytic capacitor | 47µF 16V | $0.12 ea. |
| 1 | 10µF 63V aluminum electrolytic capacitor | 10µF 100V | $0.24 ea. |
The polarized capacitors are installed as shown above where the small rectangle on the right is the EEC connector. Note the polarity with the stripes either facing the connector or the top as shown.
Helpful Advice
Useful points if you do this yourself.
- Removing the EEC-IV processor is fairly easy. Reinstalling is more tricky. To reinstall, I place a soft-sided but hard object between the engine side EEC connector and the wheel well. This allows me to reattach the processor from inside the truck without the connector falling out. Push the connector in as far as it can before attempting to tighten the 10mm bolt on the connector.
- Be sure to install the capacitors in the correct orientation. Take a picture of your unit and make sure the polarity stripes are installed the same way.
- Anchor Electronics stocked the chemicals I needed for this repair:
- Isopropyl alcohol (IPA)
- Conformal coating gel
- Conformal coating stripper gel
- The board uses a conformal coating to form a dielectric barrier which makes the board more reliable. You will need to remove this coating to work on the board. Some folks use IPA for this, but it’s a lot faster to use the coating stripper gel, then follow up with IPA to clean up.
- IPA helped clean up the leaked electrolytic fluid. Take your time.
- You’ll need to reapply the coating once you are done. I see this step skipped on nearly every other example video I’ve seen on this.
- Soldering from the bottom of the board is probably enough, but make sure you use enough solder to make a good connection on the top. I did not do this the first time.
- If you do not want to DIY, there are a few places which will repair this for you. I would have picked ModuleMechanics but there are a few other options too if you look around.
Helpful Videos from others
I used these videos to help me understand the repair.
Leave a Reply