Today we celebrate 100 days of life with our daughter Kaylee Nari. We are thankful to God and our family who love us and Kaylee so deeply.

Today we celebrate 100 days of life with our daughter Kaylee Nari. We are thankful to God and our family who love us and Kaylee so deeply.
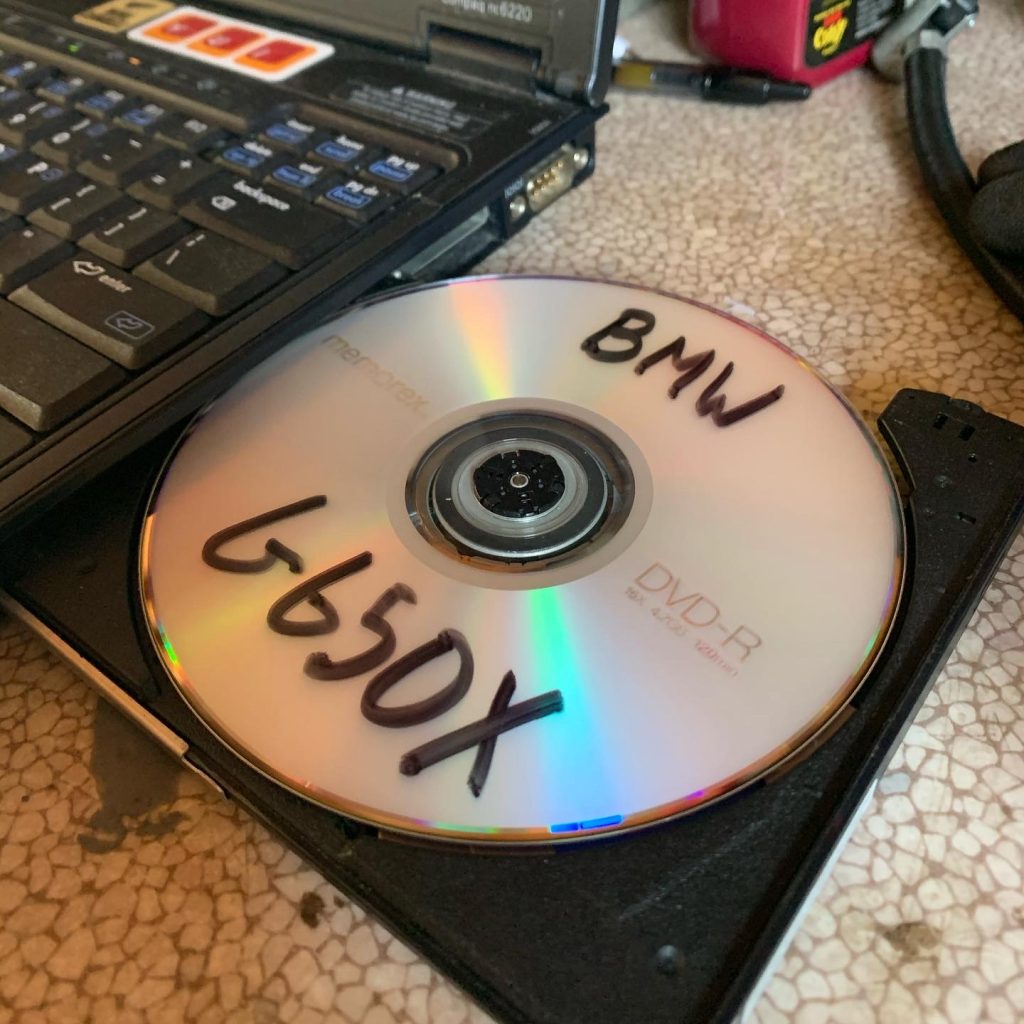
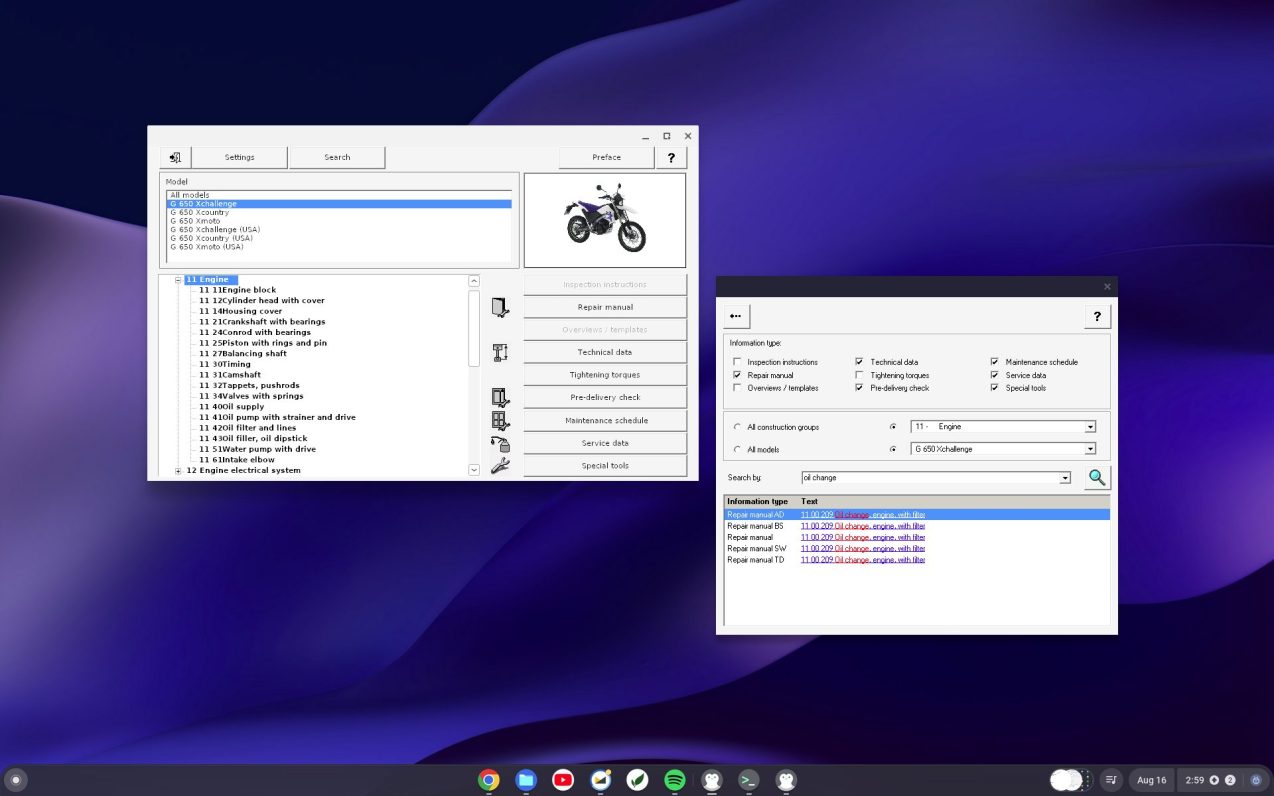
I own a 2007 BMW G 650 Xchallenge. This motorcycle was short-lived and not particularly common. Keeping it running these days requires knowing how to repair it.

For BMW motorcycles of this era, the best available repair manual is a Windows program called RepROM which displays repair procedures and allows for searching the manual.
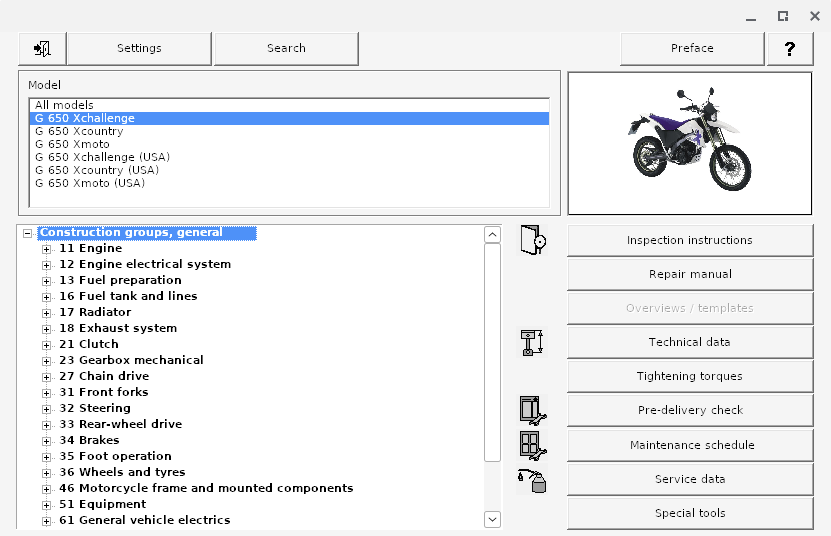
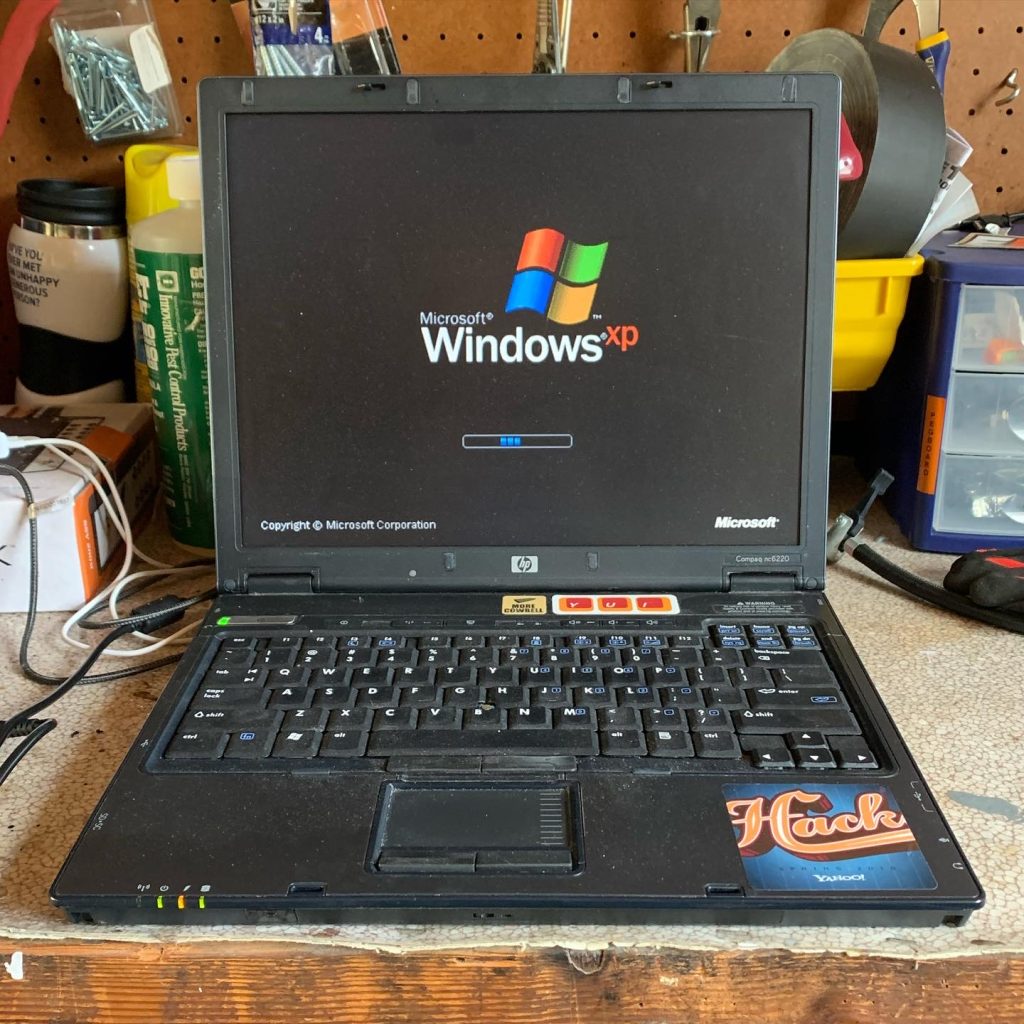
My model’s RepROM is a circa 2006 program which runs on Windows XP. For many years I kept around an old HP Compaq nc6220 laptop just for the purpose of running RepROM.1
A few months ago, I created a dedicated garage workstation to make it easier to look up repair information for my motorcycles and other things around the house. The computer is a Dell Optiplex 9020, picked up from the Silicon Valley Electronics Flea Market after its retirement from a cafeteria at Stanford University.
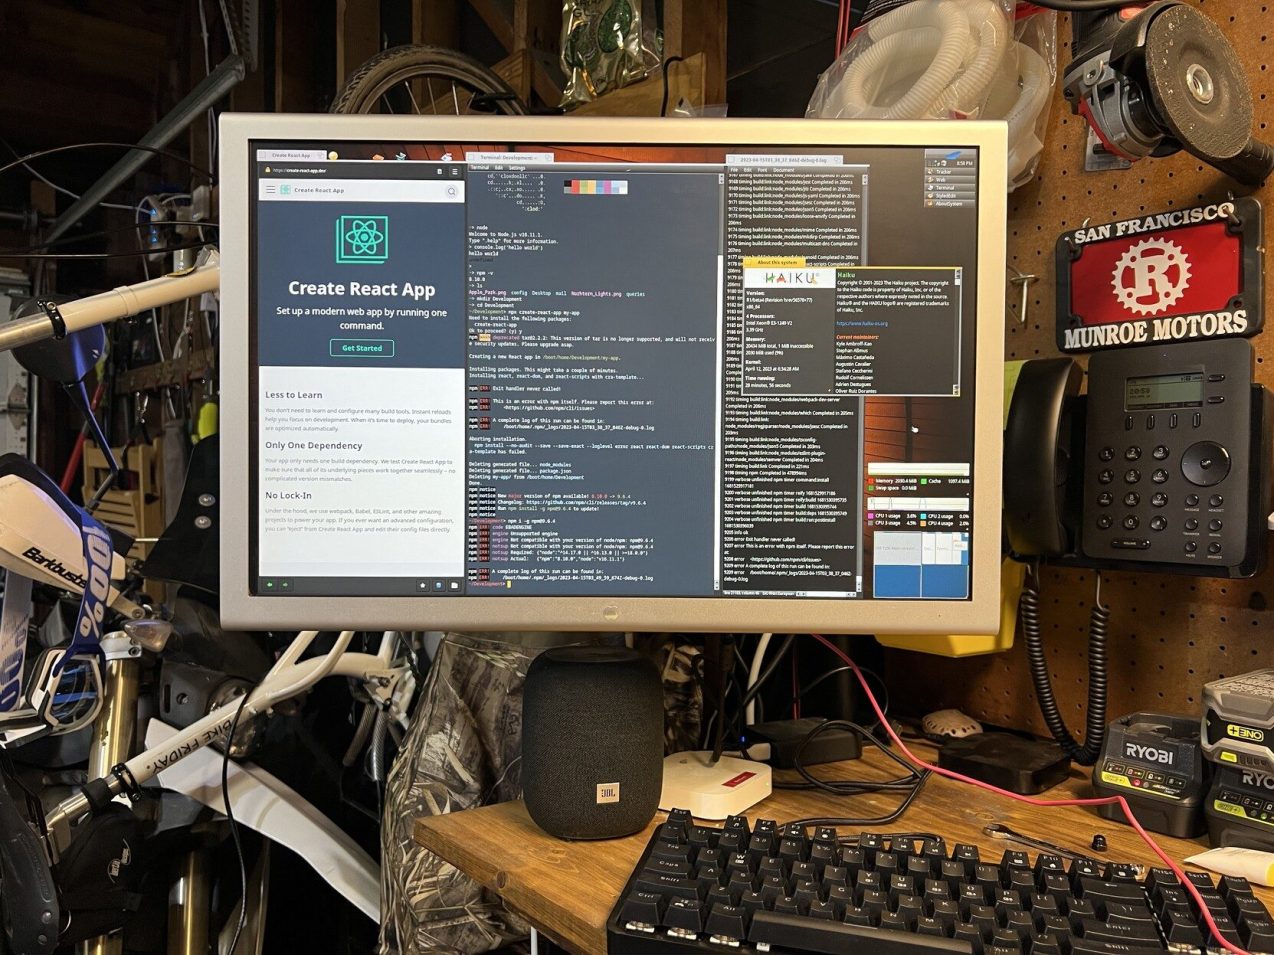
After trying Haiku for a while, I found ChromeOS Flex makes for a very fast and drama-free Linux workstation for looking up things online. ChromeOS supports PWAs, 1Password, and even Linux apps like Beeper.
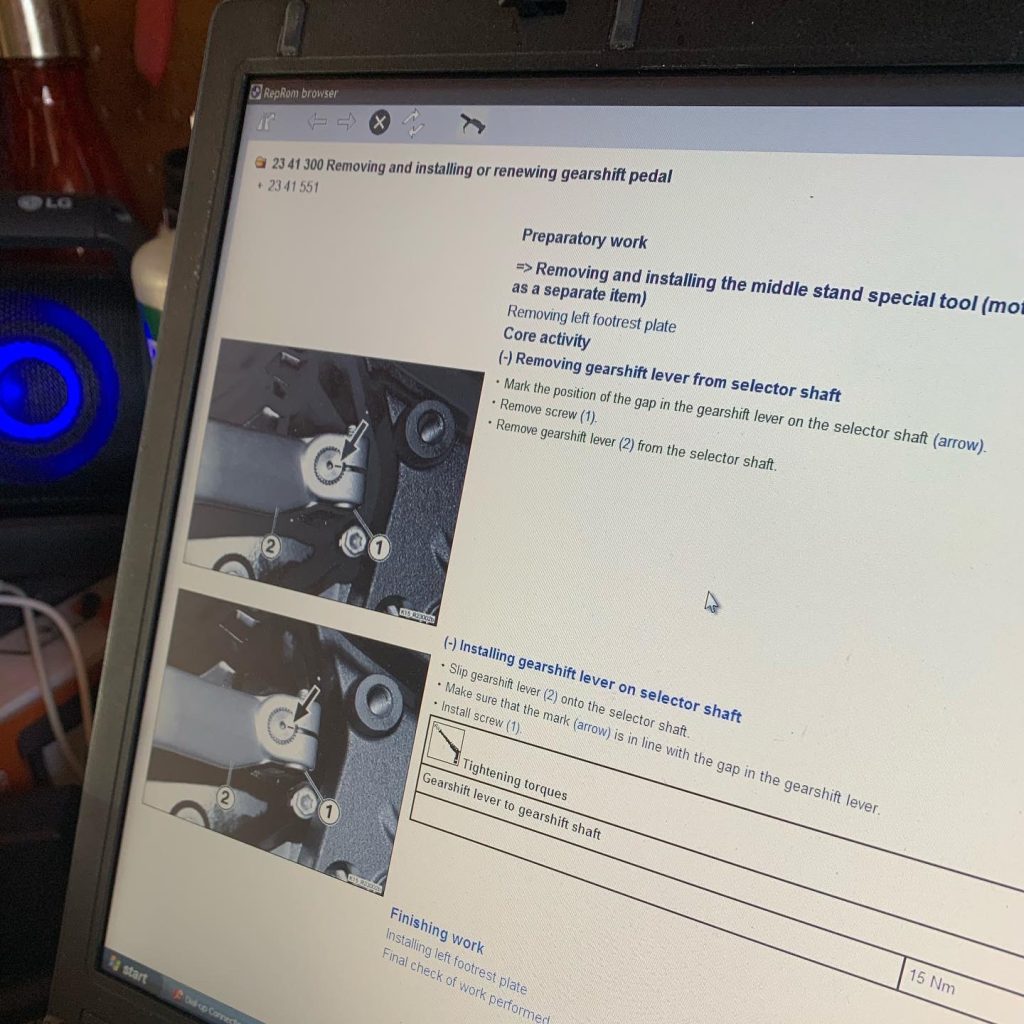
Today I figured out how I can run my old version of RepROM on ChromeOS so I can easily look up repair guides without hauling out the Windows XP laptop. If you want to do the same, read on.
First, install the Linux development environment for ChromeOS.
Next, install Wine in the Linux environment. You can use these commands to install Wine:
# From https://github.com/cknermann/WINE-on-ChromeOS
sudo dpkg --add-architecture i386

# Prepare temp directory
sudo mkdir /root/.gnupg
sudo chmod 700 /root/.gnupg

# Import repository keys
wget -O- https://dl.winehq.org/wine-builds/winehq.key | gpg --dearmor | sudo tee /usr/share/keyrings/winehq.gpg

# Add repository
printf "deb [signed-by=/usr/share/keyrings/winehq.gpg] https://dl.winehq.org/wine-builds/debian/ bullseye main" | sudo tee -a /etc/apt/sources.list

# Update, install and configure
sudo apt update
sudo apt install --yes --install-recommends winehq-stable
Before starting anything else, be sure to specify a 32-bit Wine configuration. RepROM needs old versions of Internet Explorer to render the XML repair documents which requires 32-bit Wine.
WINEARCH=win32 winecfgYou will need msxml3 and ie6 DLLs to properly run RepROM of this vintage. If you do not, Wine will helpfully try to download HTML support using modern Gecko; however, Gecko cannot parse RepROM’s Microsoft-specific XML documents.
You can easily install these DLLs with Winetricks. While the installation is easy, watching IE 6 download and extract on ChromeOS in 2023 is a bit unsettling.
wget https://raw.githubusercontent.com/Winetricks/winetricks/master/src/winetricks
chmod +x winetricks
sudo apt install cabextract # Required for next step
./winetricks dlls ie6
./winetricks dlls msxml3
Next, place the RepROM files into a directory in the Linux files section of the ChromeOS Files app.
You can now run RepROM.
cd RepROM
wine RepROM.exe
RepROM can be placed as a menu item in the ChromeOS Launcher to make it easier to start. For this, you will need Menulibre.
sudo apt install menulibre
menulibre
In the Menulibre GUI, select Add Launcher and use the following values:
| Command | wine RepROM.exe |
| Working directory | Select the directory which contains RepROM.exe |
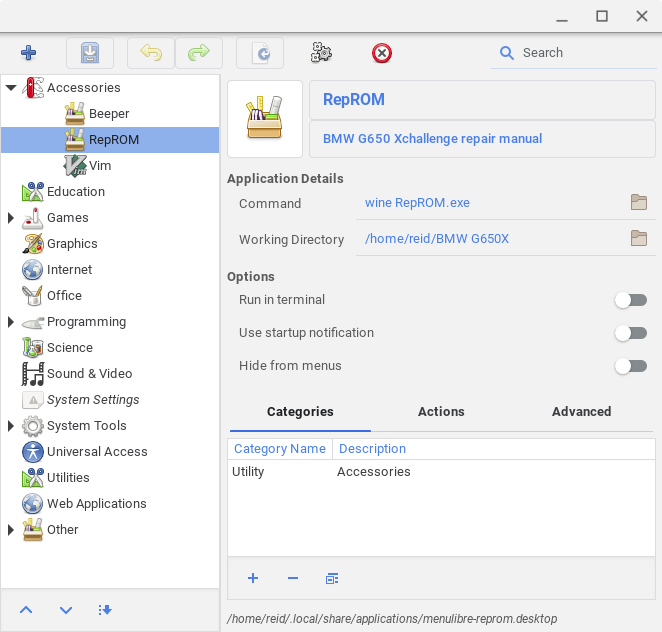
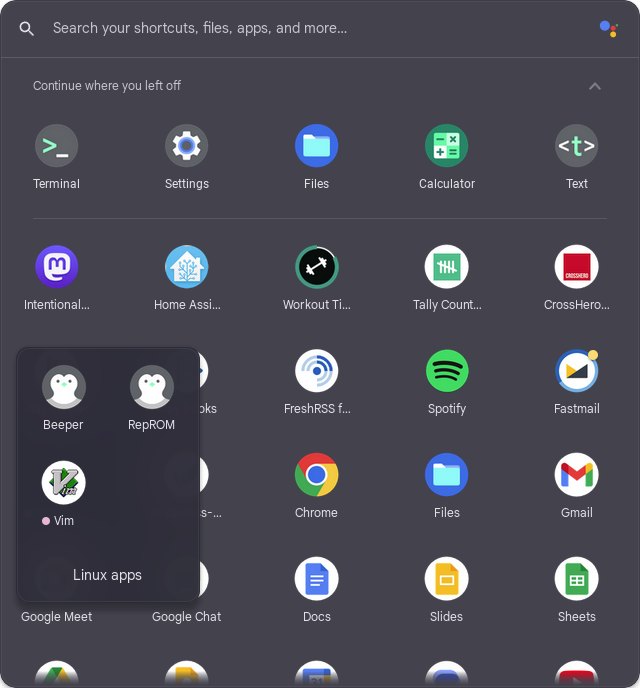
Close Menulibre and you should find RepROM in the ChromeOS Launcher.
Happy wrenching.

Jeeyun and I are new parents to this sweet baby girl. Kaylee Nari was born in June. We are excited, a bit tired, and hopeful for what God will do in our family.

Secretive is an app by Max Goedjen for storing and managing SSH keys in the Secure Enclave on macOS.
Most of us keep our private SSH keys on disk at ~/.ssh/id_* with restrictive file permissions to keep them a secret. However, it is not difficult for malware to copy these private keys from disk.
Secretive stores SSH private keys in the Secure Enclave where they cannot be exported by design. This makes it much more difficult for a malicious program to use them.
The Secure Enclave is a part of modern Mac systems on chip (SoCs) which is “designed to keep sensitive user data secure even when the Application Processor kernel becomes compromised.” If you have a recent Mac with a T series chip or M series chip, you have a Secure Enclave.
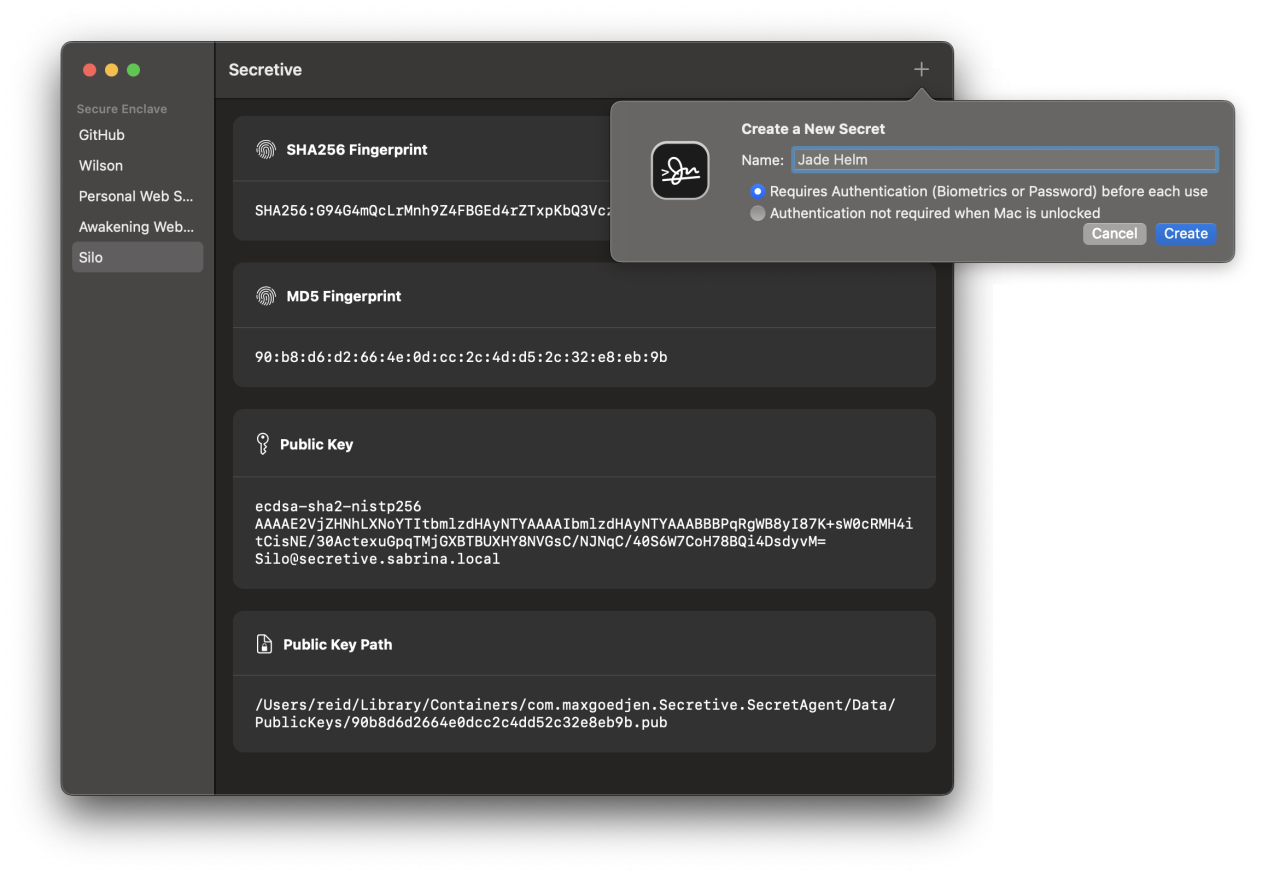
You can also require stronger access controls like authentication before every use, which can be set when creating a new secret key.
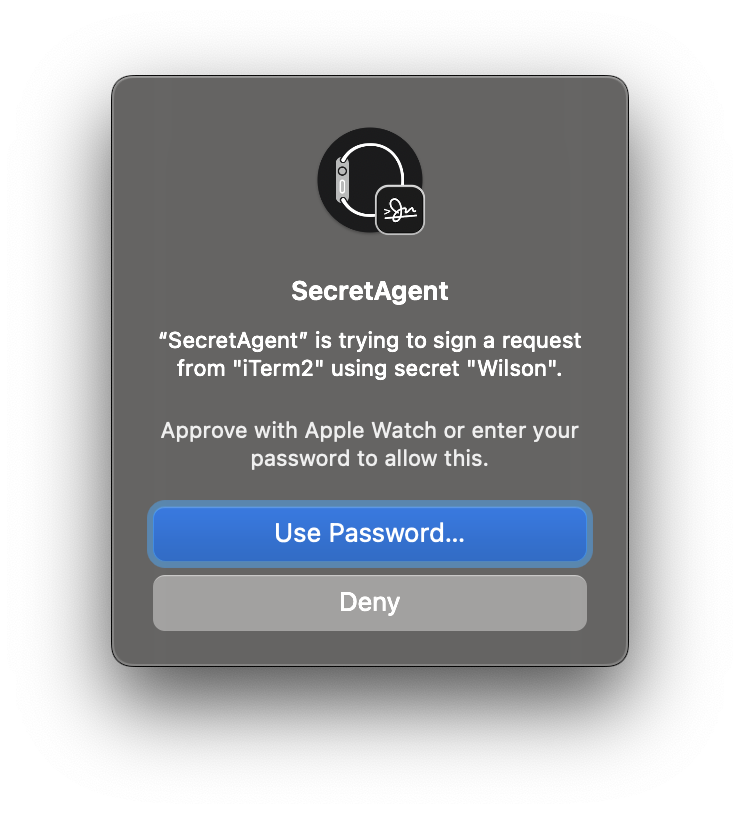
Accessing such a key requires authentication with your Apple Watch, Touch ID, or password.

In any case, whenever your keys are accessed, you get a notification. This keeps you aware of anything which uses your key — including by SSH agent forwarding. This works great for cloning from private Git repositories when deploying WordPress on a remote server.
Since the private keys cannot be exported, you cannot back them up or use the same private keys on multiple computers. You can create different keys on every computer you use which keeps the private keys safe. I have another computer with Secretive which I use as a backup, but you may consider a cold storage strategy for backup keys which are not stored on your main computer’s disk.
Secretive is available on GitHub. The binaries are created in an auditable build process which allows you to verify the source code for a given build corresponds to the release binary.
You can install Secretive with Homebrew:
brew install --cask secretiveOnce you have Secretive and its SecretAgent running, a simple configuration change to your ~/.ssh/config gets you going:
Host *
  IdentityAgent "~/Library/Containers/com.maxgoedjen.Secretive.SecretAgent/Data/socket.ssh"
Secretive exclusively uses ecdsa-sha2-nistp256 public keys[efn_note]Why this type? The NIST P-256 elliptic curve digital signature algorithm is used for signing because it’s what the Secure Enclave hardware supports. As a bit of an aside, some folks are cautious about this algorithm because they believe it is rigged due to an unexplained seed. This is difficult to prove or disprove. I am more likely to experience the threat of malware than a possible curve weakness.[/efn_note] which some services do not support, e.g. Azure DevOps which only supports ssh-rsa. For these keys, I use 1Password for SSH and include its IdentityAgent and Host settings for ssh.dev.azure.com earlier in my config file like this:
Host ssh.dev.azure.com
  IdentityAgent "~/Library/Group Containers/2BUA8C4S2C.com.1password/t/agent.sock"
Host *
  IdentityAgent "~/Library/Containers/com.maxgoedjen.Secretive.SecretAgent/Data/socket.ssh"
Since I am using identity agents like this, I no longer have any problems which require me to mess with running ssh-agent and ssh-add — access to servers and GitHub works well and seamlessly.
Many large companies have been using similar tools like Yubikeys to store keys and secure important systems. I am glad to bring this kind of technology home for my own servers.
One more thing: If you have an older Mac without a Secure Enclave, you can use Secretive with smart cards like a Yubikey.
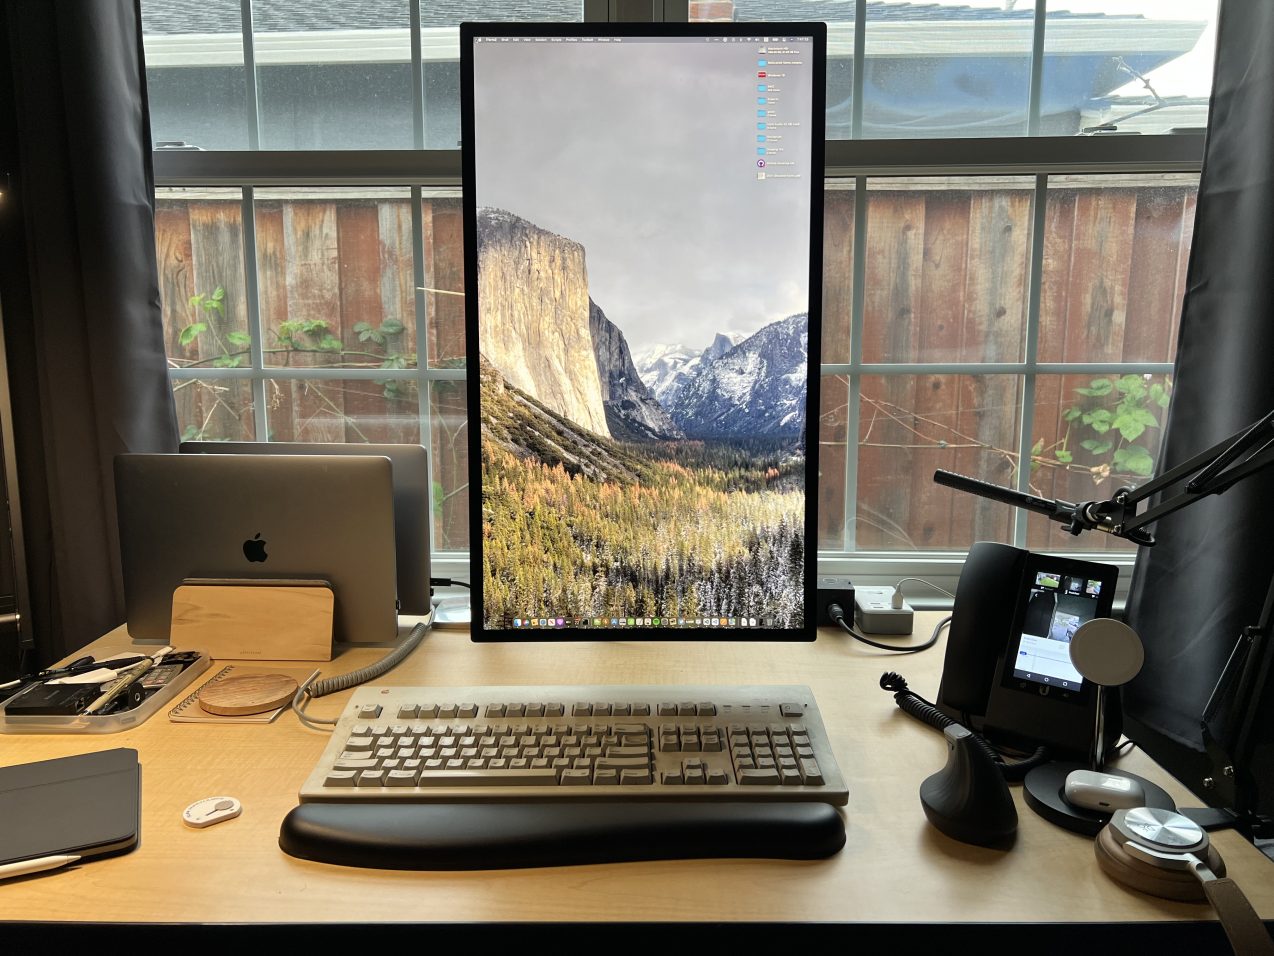
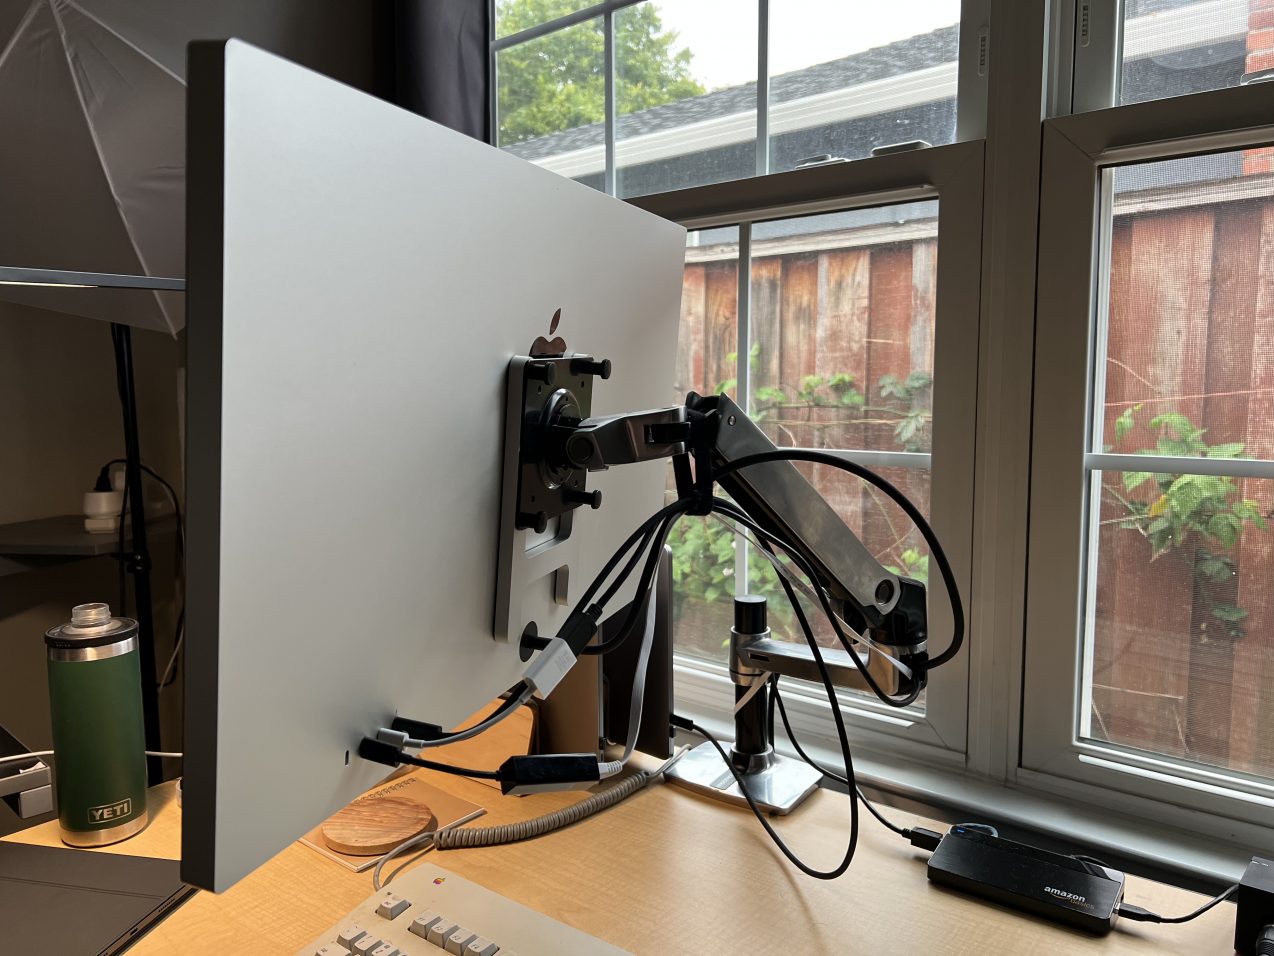
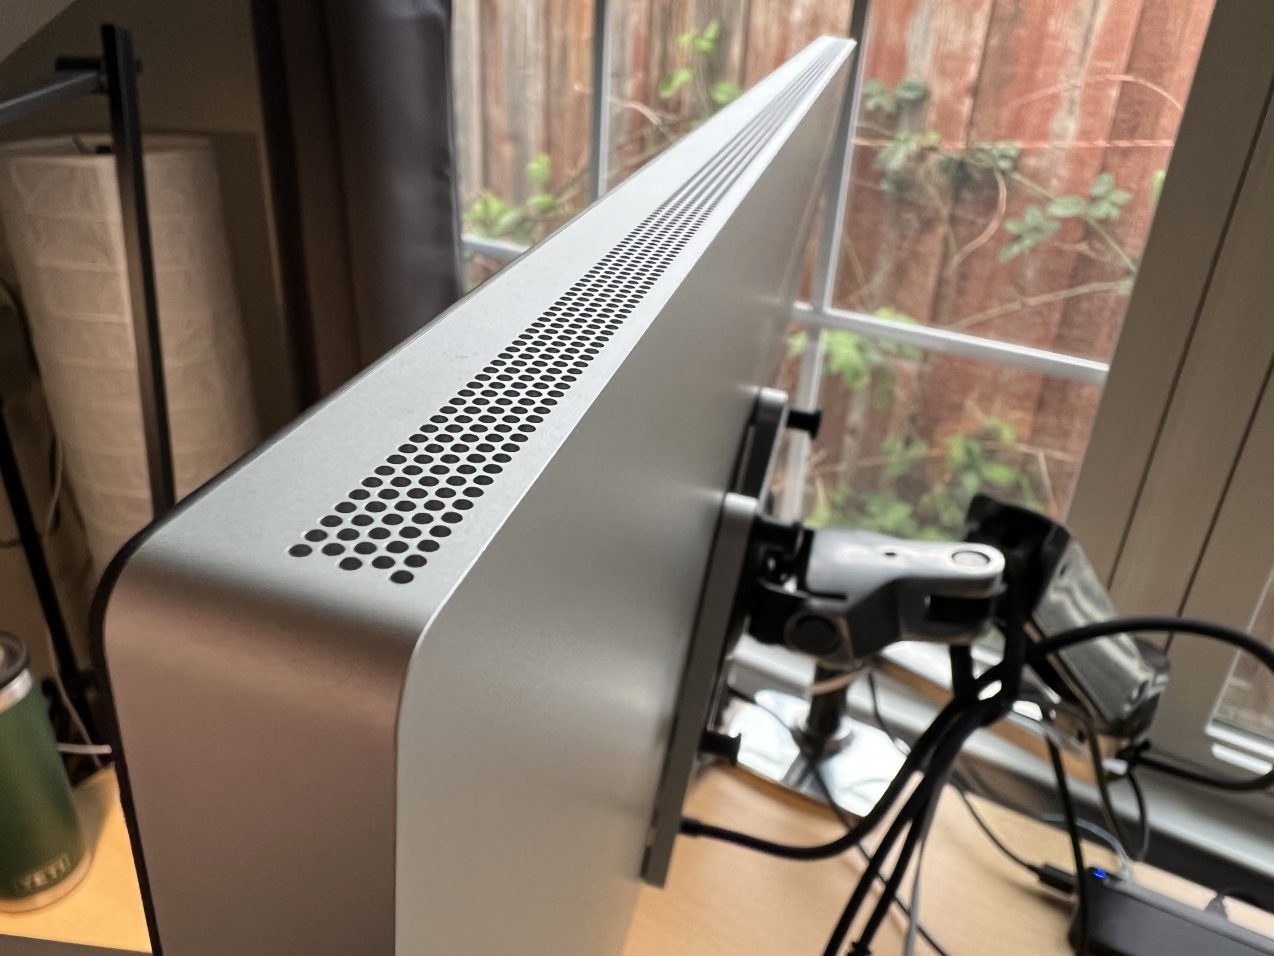
I have used a Studio Display with a VESA mount and nano-texture glass for a bit over a week. Here are some uncommon observations about this particular model coming from an LG UltraFine 5K and two Intel MacBook Pros.
macOS rotates the screen for you when the display is rotated into portrait. This works perfectly and automatically. In addition, the built-in camera will also rotate the image at the same time, which allows you to rotate the screen mid-call if you wish.
The screen is much faster to wake the computer than the LG UltraFine 5K. I normally use my computers in clamshell mode. I used to have to pop open the lid on my computer every so often because I could not wake the computer from the keyboard. This never happens with the Studio Display.
I use wired Ethernet using a Belkin USB-C adapter sold by Apple (an older black one) and have a gigabit connection to the internet. This adapter technically did work when connected to an LG UltraFine 5K; however, the speed would be limited to a max of under 400 Mbps due to LG weirdness. When this same adapter is connected to the Studio Display, I get the full speed of my connection at around 940 Mbps. This means I can truly use a single cable from my computer to the display for everything.
I ordered this display sight unseen and opted for the nano-texture without looking at an example of the texture in person. I dislike the texture.
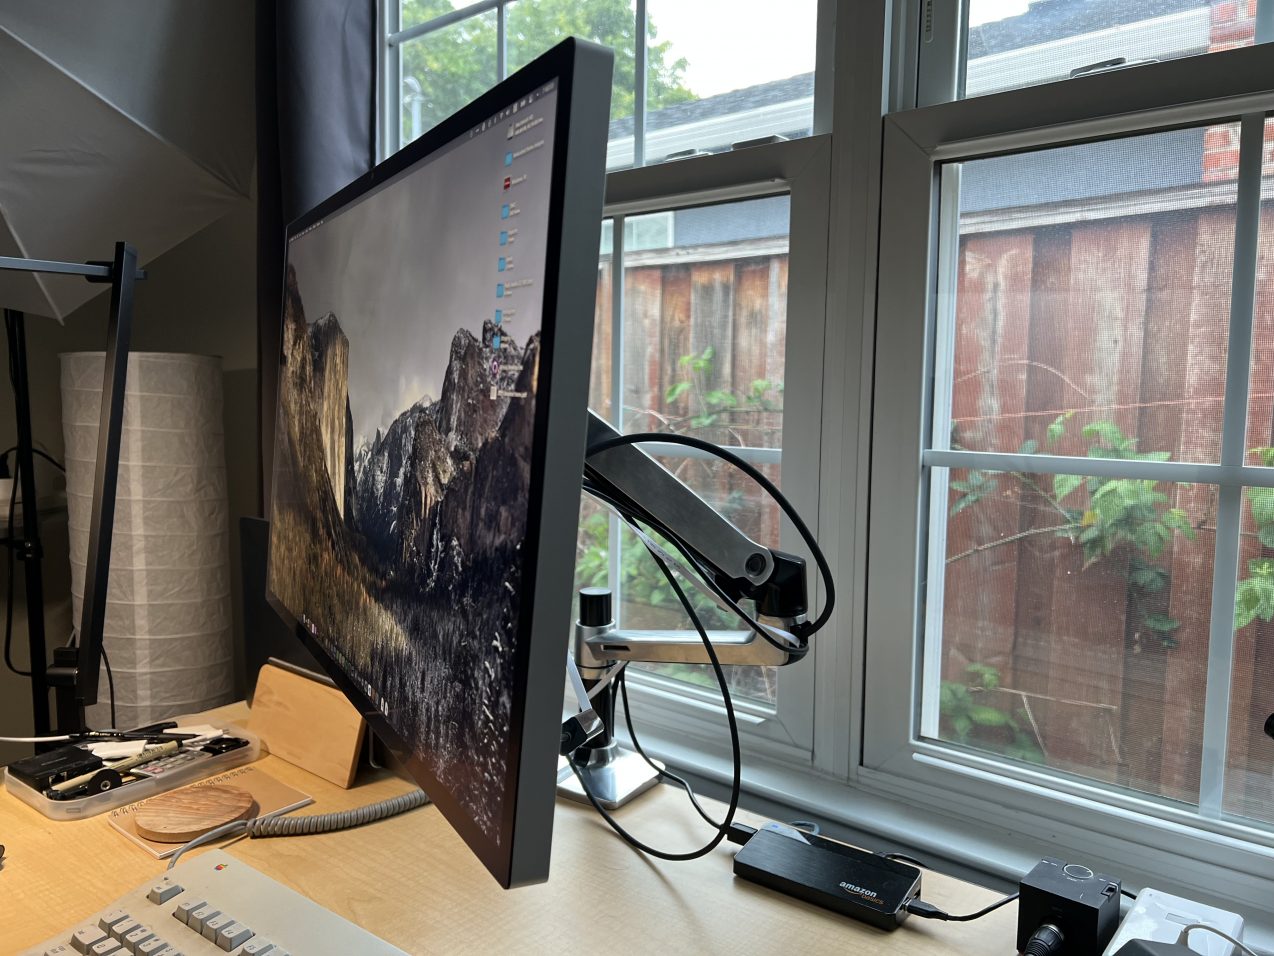
I work in a room with a lot of natural light; however, the texture is less desirable than any minor glare I had with the UltraFine. I miss the image quality of the UltraFine; however, I have grown to dislike the texture a bit less after several days of use. Given it takes 8-10 weeks to get a replacement display, I’ll keep this one, especially since my wife is now using the UltraFine 5K for her work.
The polishing cloth is a perfect fit inside a Ziploc snack sized bag.
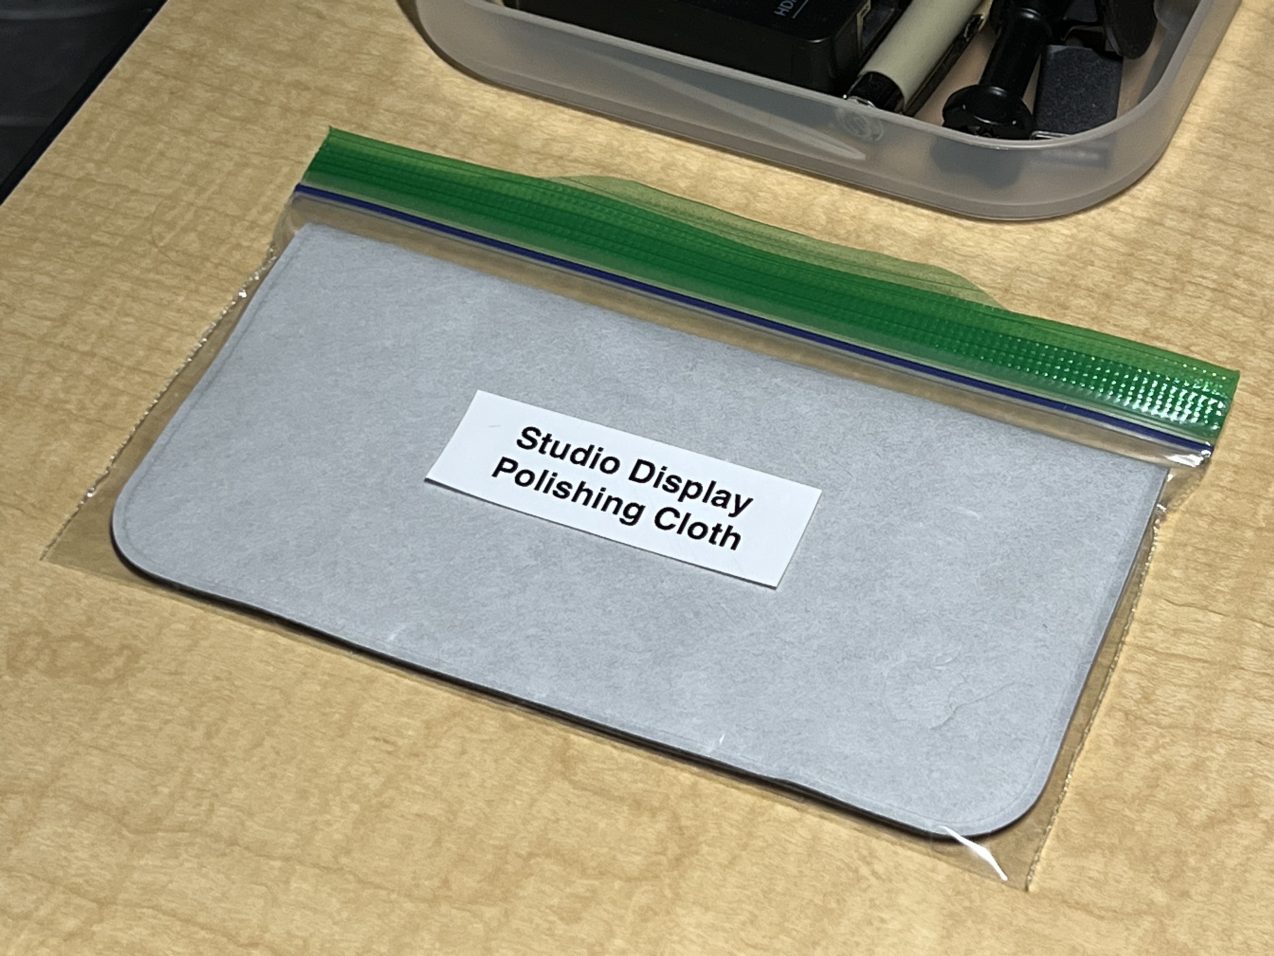
You cannot clean the screen with anything except this cloth. We have the best cleaning lady who helps us keep our home clean, so I made a note which I printed out, put inside a sheet protector, and tape to the top of the screen while cleaning since it’s such an unusual requirement to remember.
I have yet for “Hey Siri” to work correctly. This might be an Intel thing. Setting up “Hey, Siri” when my computer is in clamshell mode does not work — the computer prompts me to open the lid because macOS probably doesn’t understand the Studio Display’s capability during setup of “Hey, Siri.”
Many other parts of the experience are well documented elsewhere: image quality, so-so webcam, weird Center Stage framing, superb speakers and microphones, excellent build quality compared with LG, and so on.
Overall, I believe the Studio Display solves some quality of life issues for a true single-cable “dock” for those who want wired Ethernet and a display on a single cable. The perfect sleep wake, perfect wired Ethernet, and the automatic screen and camera rotation on the VESA model make it the model to get.